Vintage Eye Mask Tutorial

For years I have been saving and using ones from long haul flights but it has been a while since I’ve been on one of those and my masks are on their last legs (see the worn out elastic below)!

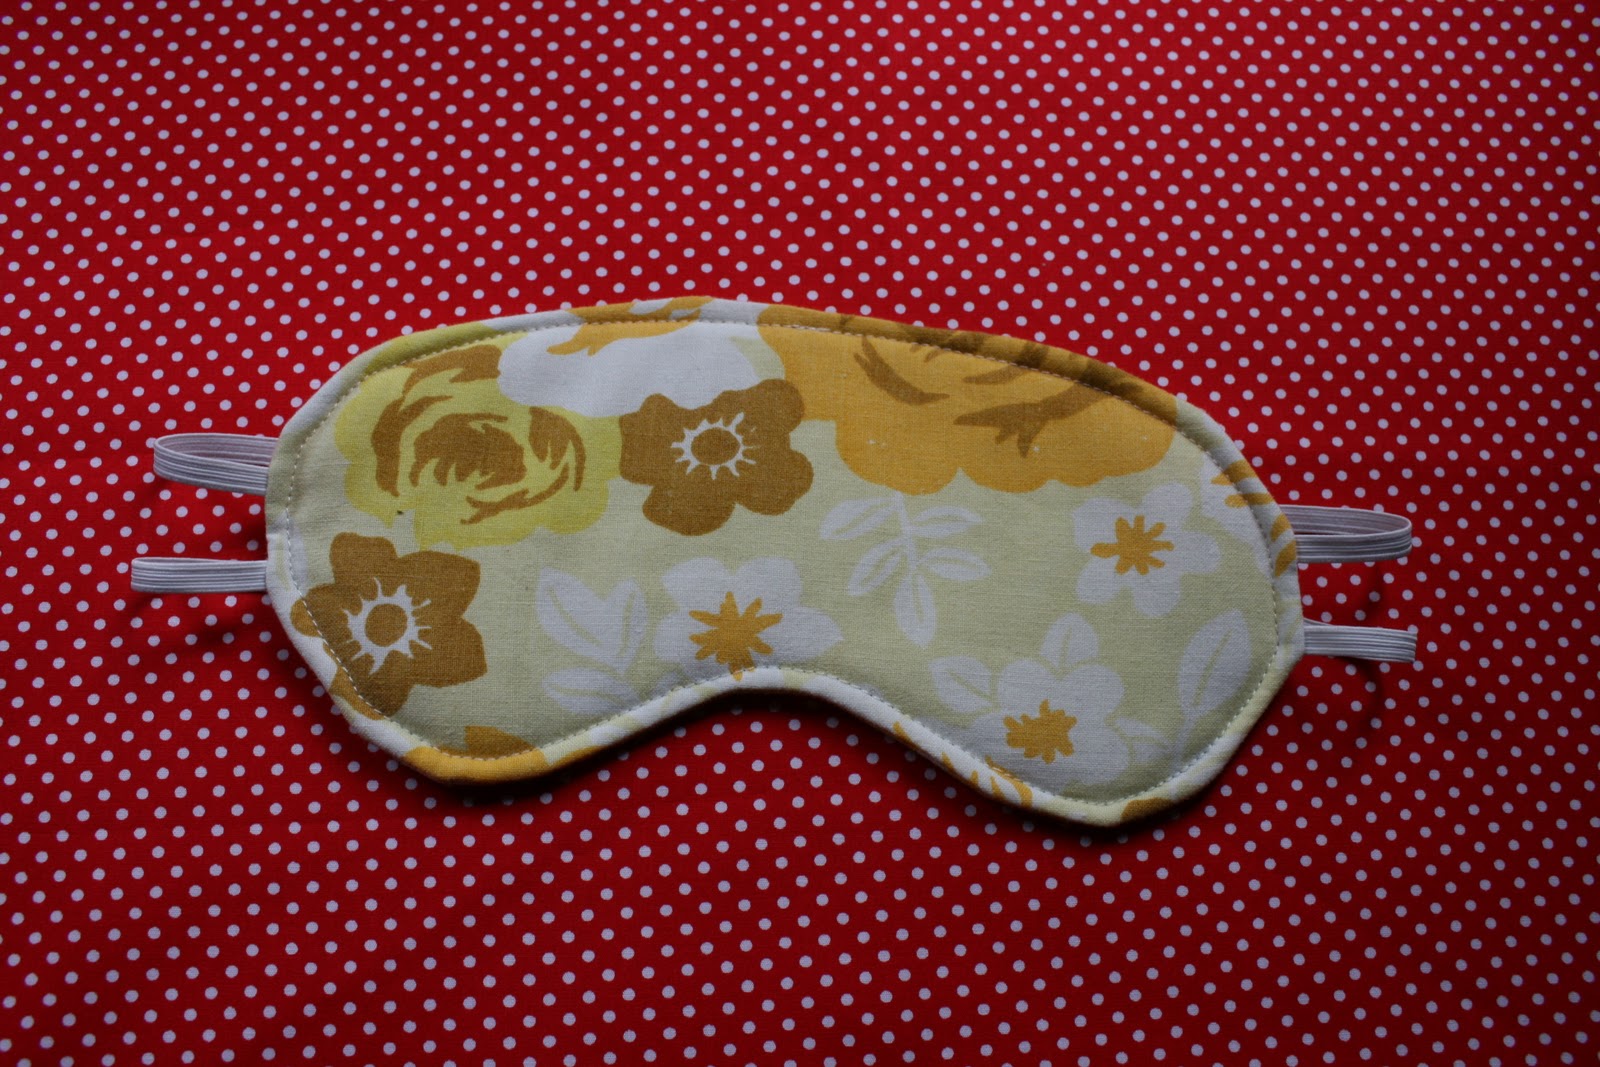
For this project I selected some fabric from the vintage sheet swap as the fabric is nice and soft and I love the prints! I had an idea to do one with crazy eyes embroidered in the exterior for added freak factor but I might keep those for my next project!
To make the pattern I traced the old eye mask added some height and width (tapering it as the nose as pictured below) and then added a seam allowance.

Below is the pattern piece - I have put a scale on there if you want to save the picture and zoom till you get the right size! Or if you have a mask you can trace and draft your own pattern!

MATERIALS
Fabric (you will only need a small amount!)
Wadding
Elastic
CUT
Cut out 2 pieces of fabric with the pattern pictured – or style your own – add some cat ears or a crown!
Cut out 1 piece of wadding. I cut mine rough and just a bit larger than the fabric bits as this can be trimmed later!
Cut out 2 lengths of ¼ inch elastic 16 inches long (check this against your head and adjust as needed)
I made two masks at the same time to boost my stock!

STEP 1
Pin the elastic in place (as noted by the x's on the pattern) - test it on your head (watching out for the pins) and adjust if it is too loose or tight.

STEP 2
Baste elastic in place 1/4 inch from the edge of one fabric piece - going backwards and forwards a bit to secure the elastic!

STEP 3
Make an eye mask sandwich - first layer wadding, second layer fabric right side up (without elastic), third layer fabric with elastic right side down. Ensure that all the elastic is tucked in and not in danger of being sewn (you can pin it down if you need to!)
Match up all the layers of the sandwich and pin around the edge - leaving a gap at the top to turn the mask through.


STEP 4
Stitch around the eye mask leaving a gap for the opening at the top. Sew backwards and forwards a few times over the elastic to secure it.

Trim the seam allowance to 1/4 inch (with the exception of the opening) and clip the curves.

STEP 5
Turn the eye mask the right side out through the opening and pin closed. You can choose to either hand stitch the opening closed at this point or top stitch the whole mask.

I chose to top stitch my masks!
And then you're DONE!
A perfect little project for you or a gift for a loved one!

STEP 6 - Optional
PHOTOSHOOT
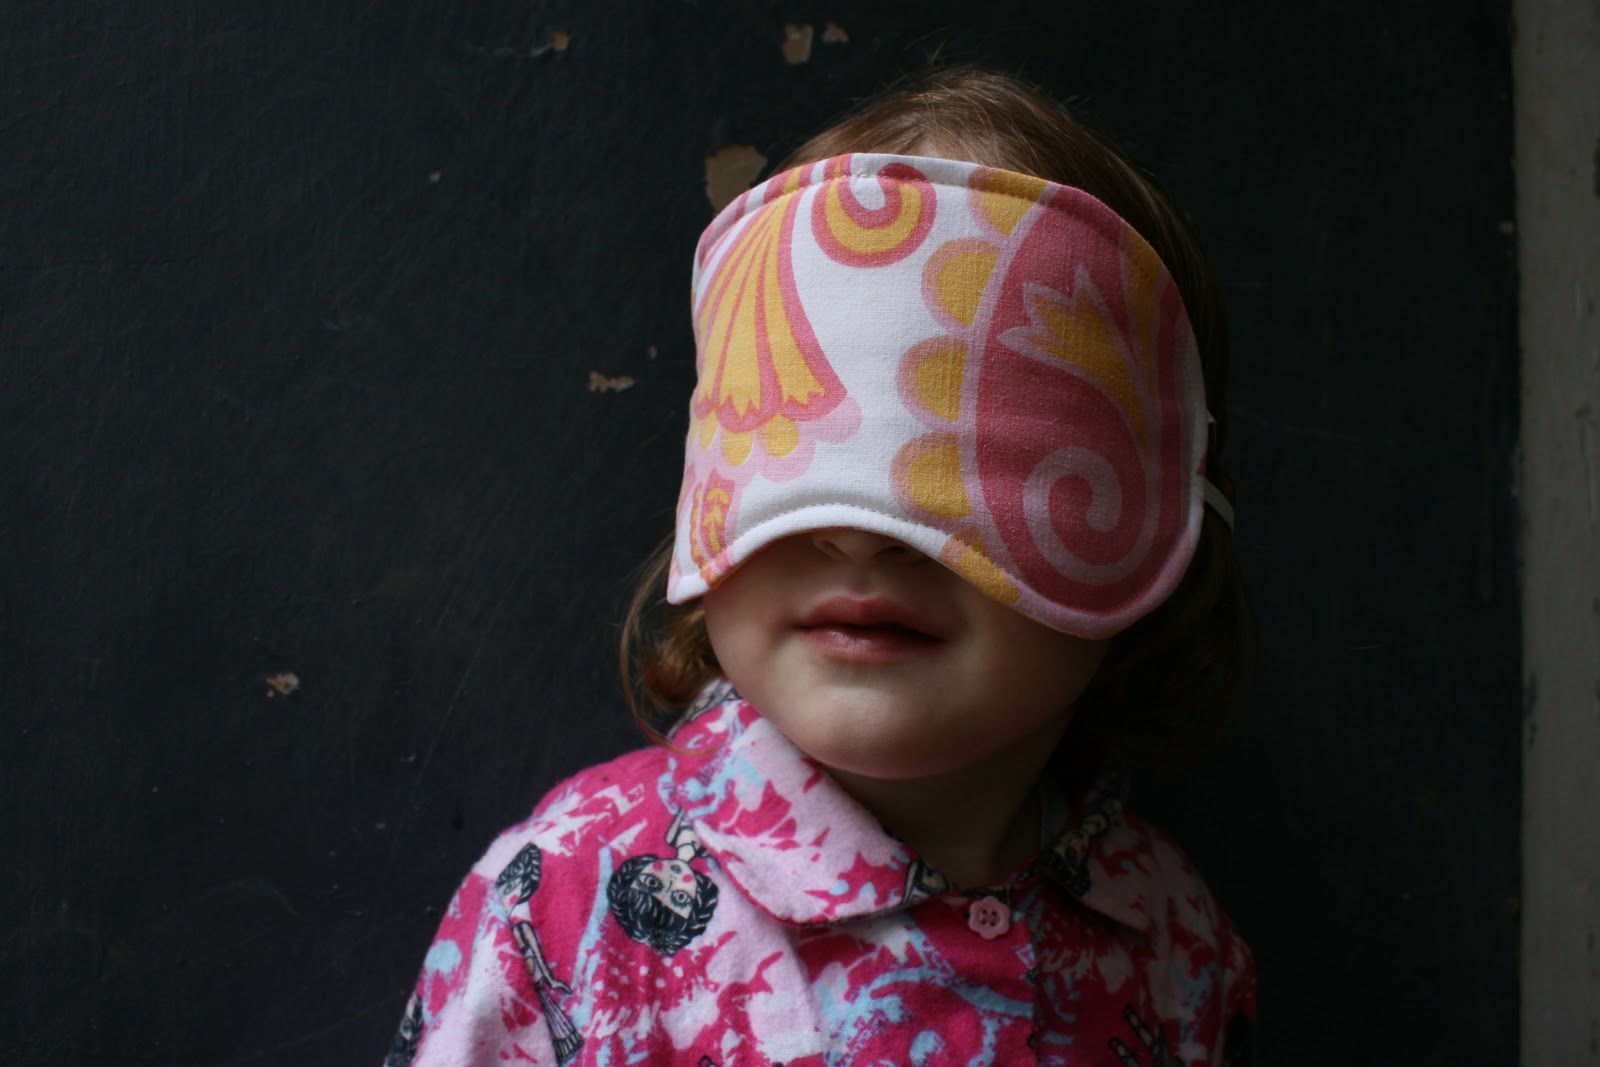


This is so great! The elastic is shot on mine and while I planned on repairing it, I was thinking how nice it would be to have a couple extras. Perfect timing, nice tutorial, cute model! :)
ReplyDeleteHow cool! They look great with the vintage fabric. Might just have to pin this to my to-do list!
ReplyDeletegoing to try and whip a couple of these up tonight!
ReplyDelete03.31-AM.png 1500w, https://www.laweekly.com/wp-content/uploads/2021/06/Screen-Shot-2021-06-18-at-11. But bear in mind that these methods take a longer time to prepare and execute
ReplyDeleteIt is a great choice for kids as it is comfortable and non-medical. The company has donated thousands of its masks to hospitals in Los Angeles and is a member of the LA Protects initiative. The masks are available in different colors and styles, and are easily foldable and waterproof
ReplyDeleten95 mask online price in india