Skip to main content
Search
Search This Blog
Amelie and Atticus
Posts
Showing posts from October, 2013
Show all
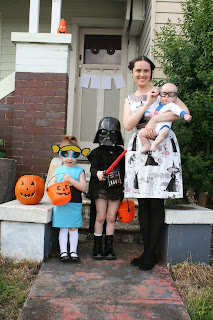
October 31, 2013
Happy Halloween!
October 28, 2013
Powerpuff Girls Halloween Costumes
October 26, 2013
Super Cute Hello Kitty Pyjamas
October 25, 2013
The Gabby Dress
October 25, 2013
Power Puffs!
October 22, 2013
Girls Summer Sundress Tutorial
October 13, 2013
There's A New (op) Shop in Town
October 13, 2013
Horsing Around
October 09, 2013
Berry Sweet
Newer Posts
Older Posts
Home